|
Recreated from The Hobbit by J.R.R. Tolkien  [Gandalf] "Quite a merry gathering! I hope there is something left for the late-comers to eat and drink! What's that? Tea! No thank you! A little red wine, I think for me." "And for me," said Thorin. "And raspberry jam and apple-tart," said Bifur. "And mince-pies and cheese," said Bofur. "And pork-pie and salad," said Bombur. "And more cakes--and ale--and coffee, if you don't mind," called the other dwarves through the door." 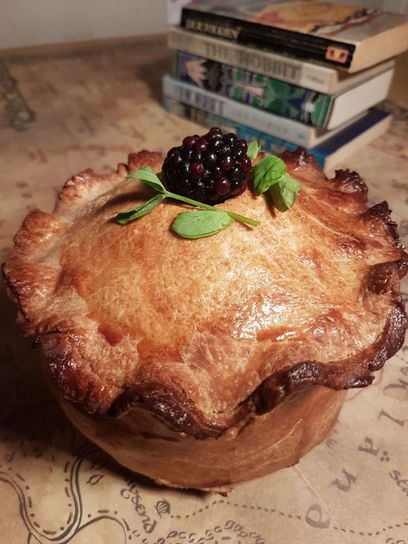 I have it on Internet authority that my maiden name means ‘dwelling on the side of a hill’ which allows me to imagine a certain kinship with hobbits (that and an appetite out of proportion with my height). On more solid ground, I'm from the shire that gave us the Melton Mowbray pork pie so it feels long overdue that I satisfy the inner-Bombur and make one of my own. Staying true to the flavours of The Hobbit, I've incorporated blackberries, apple, sage, thyme and chicken but you could easily substitute in some of the others. What all the fare of The Hobbit has in common is a hailing to the ‘rural English pastoral tradition’ which Strange Horizons have written about here. Over at The Tome and Tankard Inn, BookWol has recreated Tolkien’s aesthetic with a Hobbit-inspired drink, steeped in traditional English ingredients. We’ve coordinated our flavours (with something of a kitchen-garden theme) to bring as much of Hobbiton to the table as possible. All that remains is for us to raise a toast: may your larder always be full, may your drink be ever-flowing and may the hair on your toes never fall out. 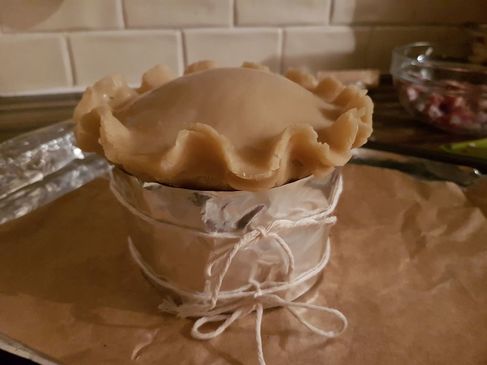 Step 13, before cutting a hole in the top and adding the piping tip The number of steps in this recipe may make it seem like more of an undertaking than it actually is--I spent around 20 minutes making the pastry, ten for the filling and five for the assembly. There's a lot of refrigeration time along the way though so it's one to prepare in advance. Serves 6 Equipment: saucepan, (rolling pin, 4” pork pie mould, cling film, cooking spray)*, greaseproof paper, string, piping tip *search ‘how to hand raise a pork pie’ as an alternative For the pastry:
For the filling:
For the pastry glaze: 1 small egg For the jelly:
Prepare the pork pie mould 1. Coat the outside of the pork pie mould in cling film. Rub cooking spray over the cling film to help remove the mould from the pastry when you reach Step 11. Make the pastry 2. Break the egg into a small bowl and beat it gently. 3. Sift the flour into a large bowl and make a well in the middle. Pour the beaten egg into the well and cover with flour. 4. Meanwhile, melt the butter and lard in 150ml gently simmering water. When the fats are fully melted, bring to a rolling boil and then remove from the heat. 5. Add the hot liquid mixture to the flour mixture at once and mix with a butter knife until fully combined. Bring the dough together into a ball with your hands and then divide it into two--one twice the size of the other. 6. Roll the larger ball out into a disc big enough to cover the bottom and sides of your pork pie mould (outside not inside) with a couple of centimetres to spare (trimming any excess and reserving at room temperature). Place the dough over the prepared pork pie mould and refrigerate for at least 30 minutes. 7. Roll the smaller ball out into a disc big enough to cover the top of your pork pie with a couple of centimetres to spare (reserving excess at room temperature). Place on a piece of greaseproof paper and refrigerate until needed. Make the filling 8. Remove the fat cap from the pork shoulder and dice the meat leaving traces of the fat on (this will stop the meat drying out in the oven). Mix the diced pork in a bowl with the onion and sage, then season. 9. Core and peel the apple. 10. Preheat your oven to 190°C (375°F) fan. Assemble the pie 11. Take your pastry from the fridge. Remove the mould from inside the larger piece and then remove the cling film. Hold it up to the light and use the reserved dough to patch (on the inside) any areas that look too thin. Wrap greaseproof paper around the sides and secure with string without tying it too tight. 12. Add a layer of the pork mixture on the bottom and place the apple on top (the top of the apple should reach the rim of your case). Fill with the rest of the pork mixture, including in the hollow of the cored apple. There should be enough filling to form a mound. 13. Add the lid and pinch the edges together to seal. Make a hole in the lid the size of your fingertip and insert the piping tip smaller end down. This will allow steam to escape while baking. Glaze the pastry and bake 14. Apply a thin coat of the egg mixture to the lid. 15. Bake for 15 mins at 190°C fan then lower the oven temperature to 170°C (325°F) fan, cover loosely in foil and bake for a further 30 minutes. 16. Remove the foil, string and greaseproof paper, then glaze the freshly-uncovered sides before returning to the oven for a final 30 minutes. 17. Leave to cool down to room temperature and then refrigerate for a few hours. Check for any holes and plug them with cold butter which can be scraped away after Step 21 when the jelly has set. Make the jelly (used to fill the gaps that form when the filling shrinks back from the pastry during cooking) 18. Simmer all the stock ingredients except for the gelatine leaves for 15 minutes, then pour through a strainer into a jug to remove the herbs. 19. Return to the saucepan on a high simmer for five minutes to allow evaporation. 20. Meanwhile, soak the gelatine leaves in cold water for a minute. Then remove them from the cold water, squeeze to remove excess water and add them to the hot stock on a low simmer until the gelatine leaves have melted. 21. Remove the stock from the heat and transfer back to your jug. The stock will begin to set as it cools so pour it into the pie via the piping tip straight away until filled to the brim. Refrigerate for a few hours before serving. Serve with a side salad of your choice. I picked pea shoots and blackberries. Hot water crust recipe by Lizzy Jones; simple jelly recipe based on Oakden's. 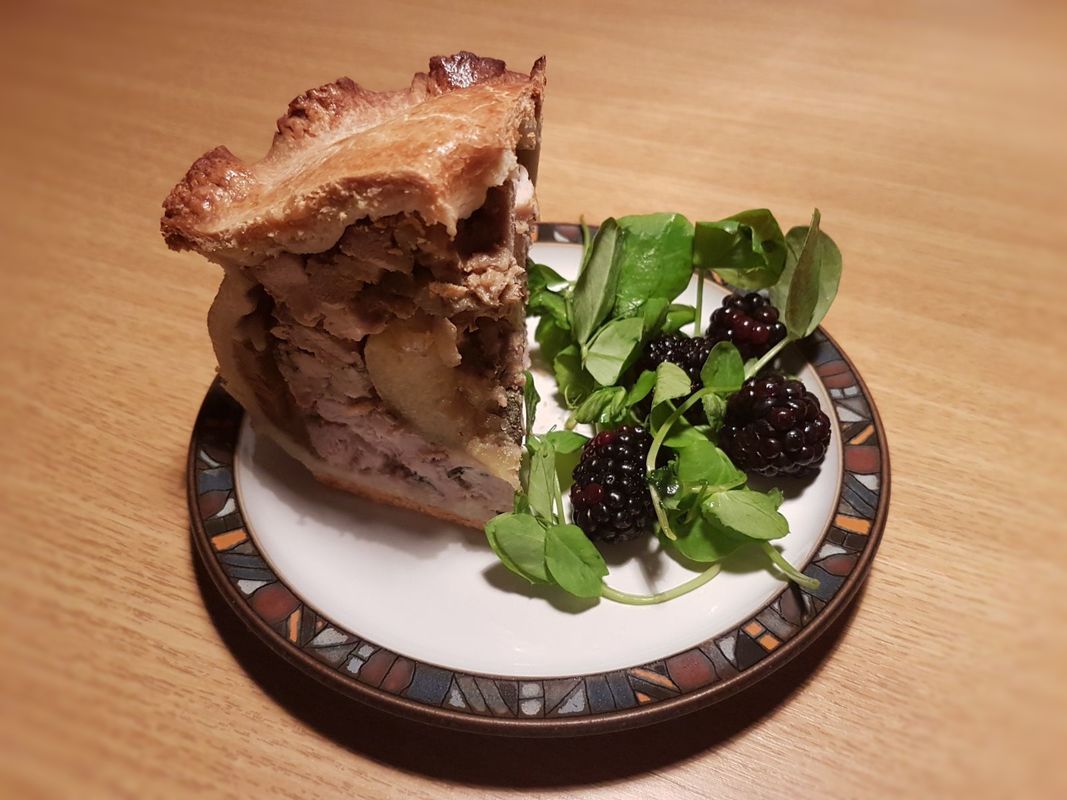
7 Comments
Inspired by Nnedi Okorafor’s Akata Witch 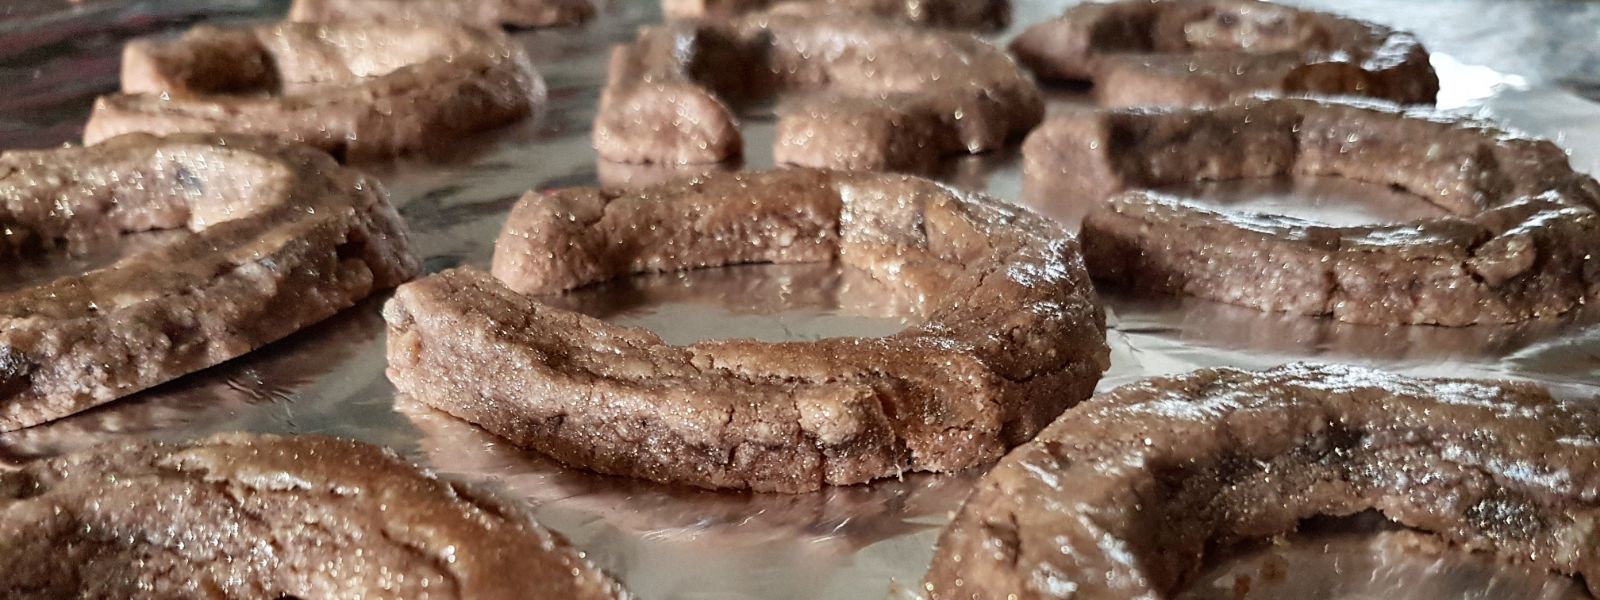 What Is Chittim? Chittim is the currency of Leopard People. Chittim are always made of metal (copper, bronze, silver, and gold) and always shaped like curved rods. The most valuable are the large copper ones, which are about the size of an orange and thick as an adult’s thumb … When chittim fall, they never do harm. So one can stand in a rain of chittim and never get hit. There is only one way to earn chittim: by gaining knowledge and wisdom. 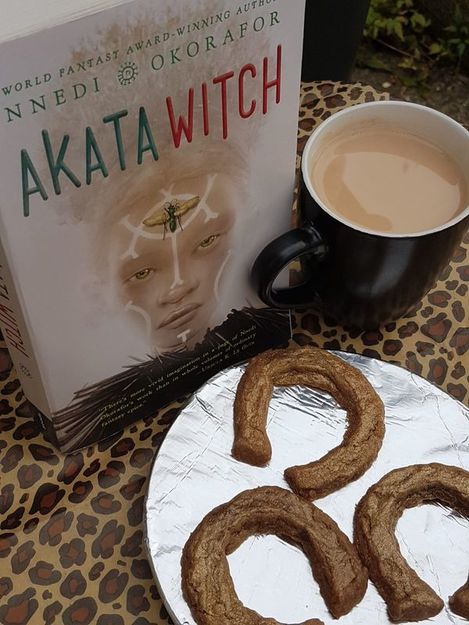 The first book of Nnedi Okarafor’s ‘Akata Witch’ series is bursting with food. There’s fufu, egg stew, egusi soup, okra soup, jallof rice, spicy chicken, plaintain, butter cookies, mangoes and more. One of the book’s chapters is called ‘Red Stew and Rice’. One of the characters is called Sugar Cream. There’s even a full recipe for ‘Tainted Pepper Soup’ and a guide to cookery for a magical subset of people like the main character. And it’s that ‘people like’ that makes the food in Akata Witch more than just a matter of what’s on your plate--it’s one of the ways identity is demarcated. Looking up any of the book’s dishes online (I would certainly recommend doing so) returns a multitude of national, ethnic and personal variations. Such differences and how characters negotiate between them are one of the book’s main themes. Learning about this – and lots of amazing Nigerian food bloggers – hopefully earns a cheeky bit of 'chittim'. I’ve attempted a culinary alchemy of sorts by turning the currency of Akata Witch into butter cookies using two ingredients of Nigerian Suya spice; ginger and peanuts. The orange is there as a flavour echo from our introduction to chittim quoted at the start of this entry. Thanks go to Nnedi Okorofor for taking the time to clarify what they should look like. Ingredients (makes approximately 20 'chittim')
Equipment Food processor, rolling pin, ruler, sharp knife, baking tray, parchment paper
Serve with tea the Sugar Cream way. Don’t be tempted to dunk your 'chittim' as butter cookies are shorter and more crumbly than stouter varieties of biscuit. |
 RSS Feed
Proudly powered by Weebly